Go to Step 3: Configuring a pre and post-message webhook
Step 2:
In order to display the chatbot on your website you must first locate the embed code and enter it on the settings page.
This process is outlined in great detail here, however we have provided abbreviated instructions below.
To display the Watson Assistant chatbot on your website:
- Go to the IBM Cloud Resource list.
- Sign into you IBM Cloud Account. (figure 1)
- Type “Watson” in the product column. (figure 2)
- Click on the “AI / Machine Learning” dropdown.
- Click on “Watson Assistant-mi” or the name of your Watson Assistant instance.
- Click on the “Launch Watson Assistant” button. (figure 3)
- Locate your Watson Assistant instance and click on it.
- Choose “Integrate web chat” on the right of the screen, towards the bottom. (figure 4)
- Choose “Create”.
- Configure the design and other features as desired. (figure 5)
- Click on the “Embed” tab. (figure 6)
- Click on the copy icon.
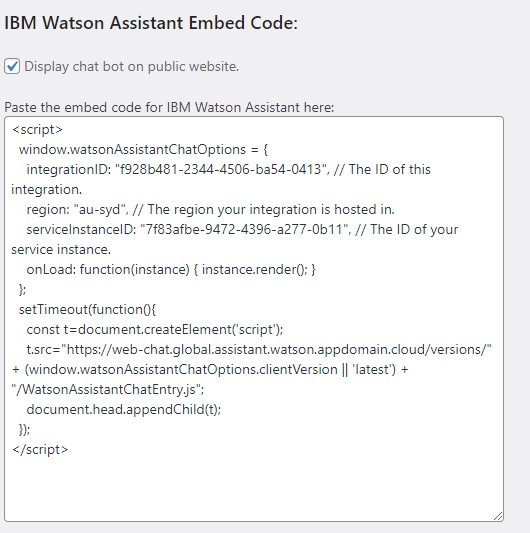
- Return to your website dashboard and paste it in the embed code field on the AI Chatbot Settings page. (figure 7)
- Check “Display chat bot on public website” to add the chatbot to your website.
- Choose “Save”.
- Go to your website to see how it will look to the public.
Figure 1: IBM Website
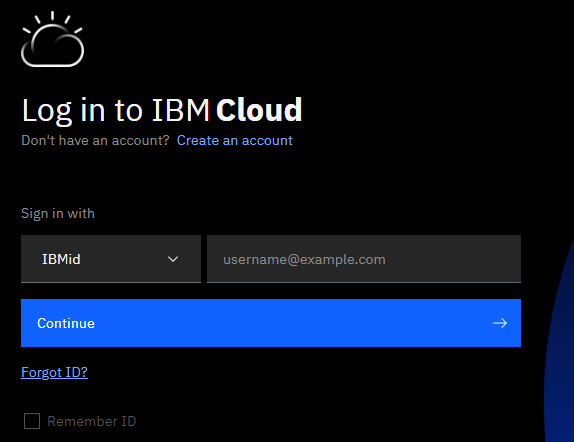
Figure 2: Resource List
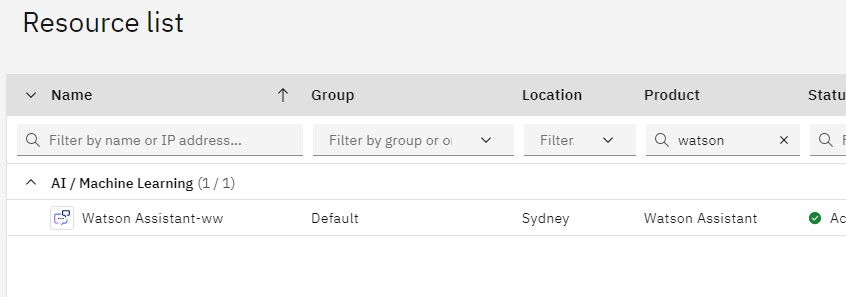
Figure 3: Launch Watson Assistant
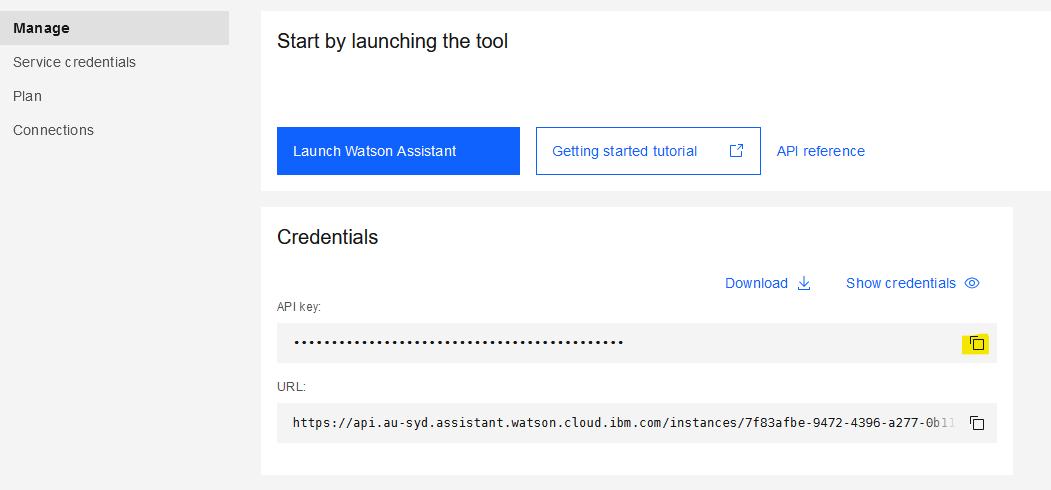
Figure 4: Integrate Web Chat
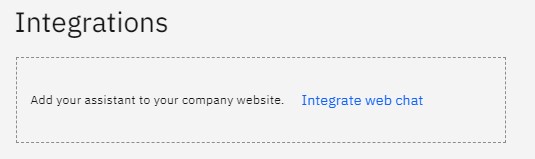
Figure 5: Customize your Chat UI
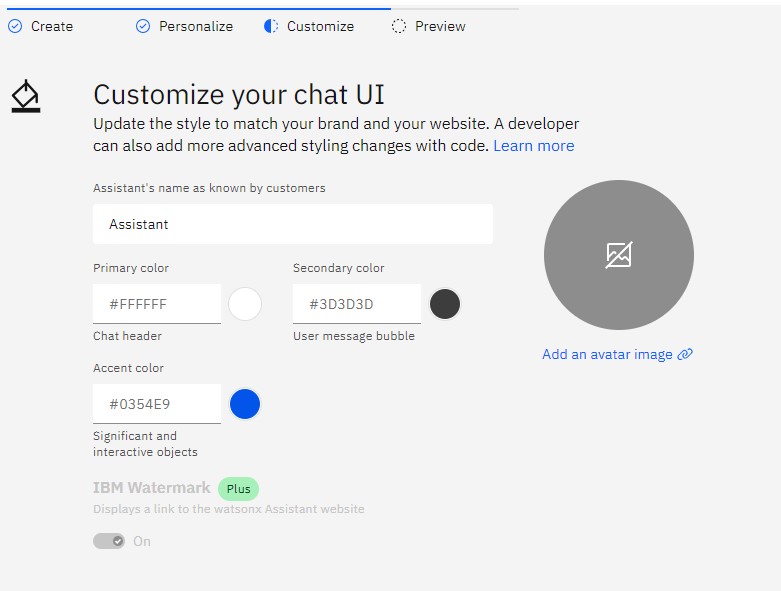
Figure 6: Embed Code
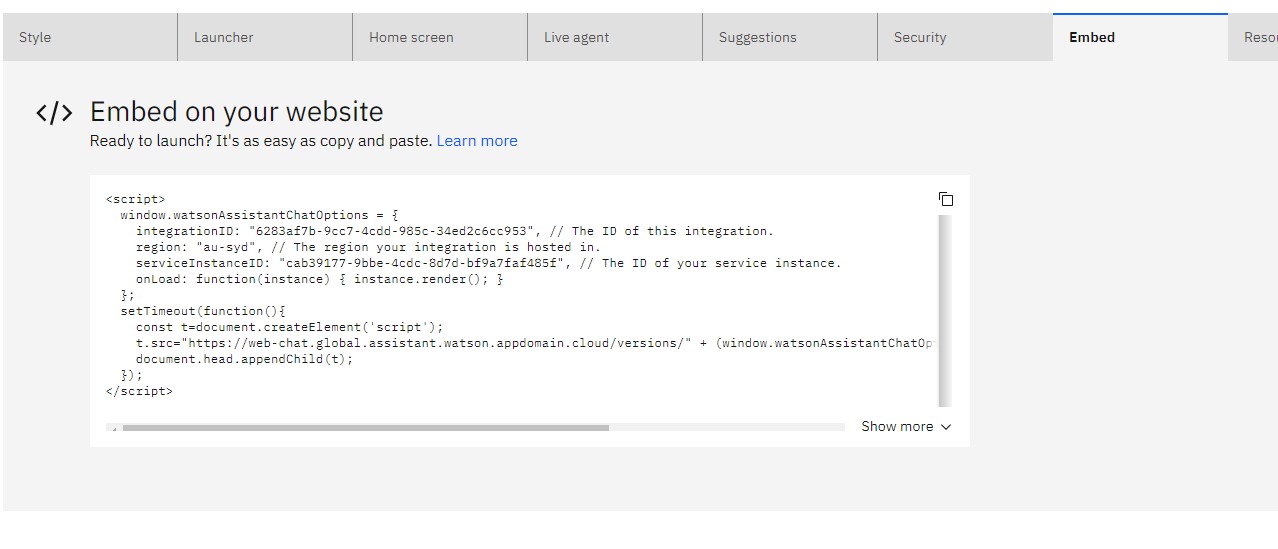
Figure 7: Updating Settings